

Cook the Best Pellet Grill Christmas Turkey this Year!
What Makes this Recipe Special?
This recipe is a fool-proof way to have a perfect turkey for Christmas lunch or dinner. It’s super easy, but it does take several hours of planning to get it right. We have to account for thawing the frozen turkey, brining, drying out the skin and the cook itself. None of this is difficult, it just takes time and requires planning. Steps can be skipped, but for the best pellet grill Christmas turkey possible, that is not recommended.
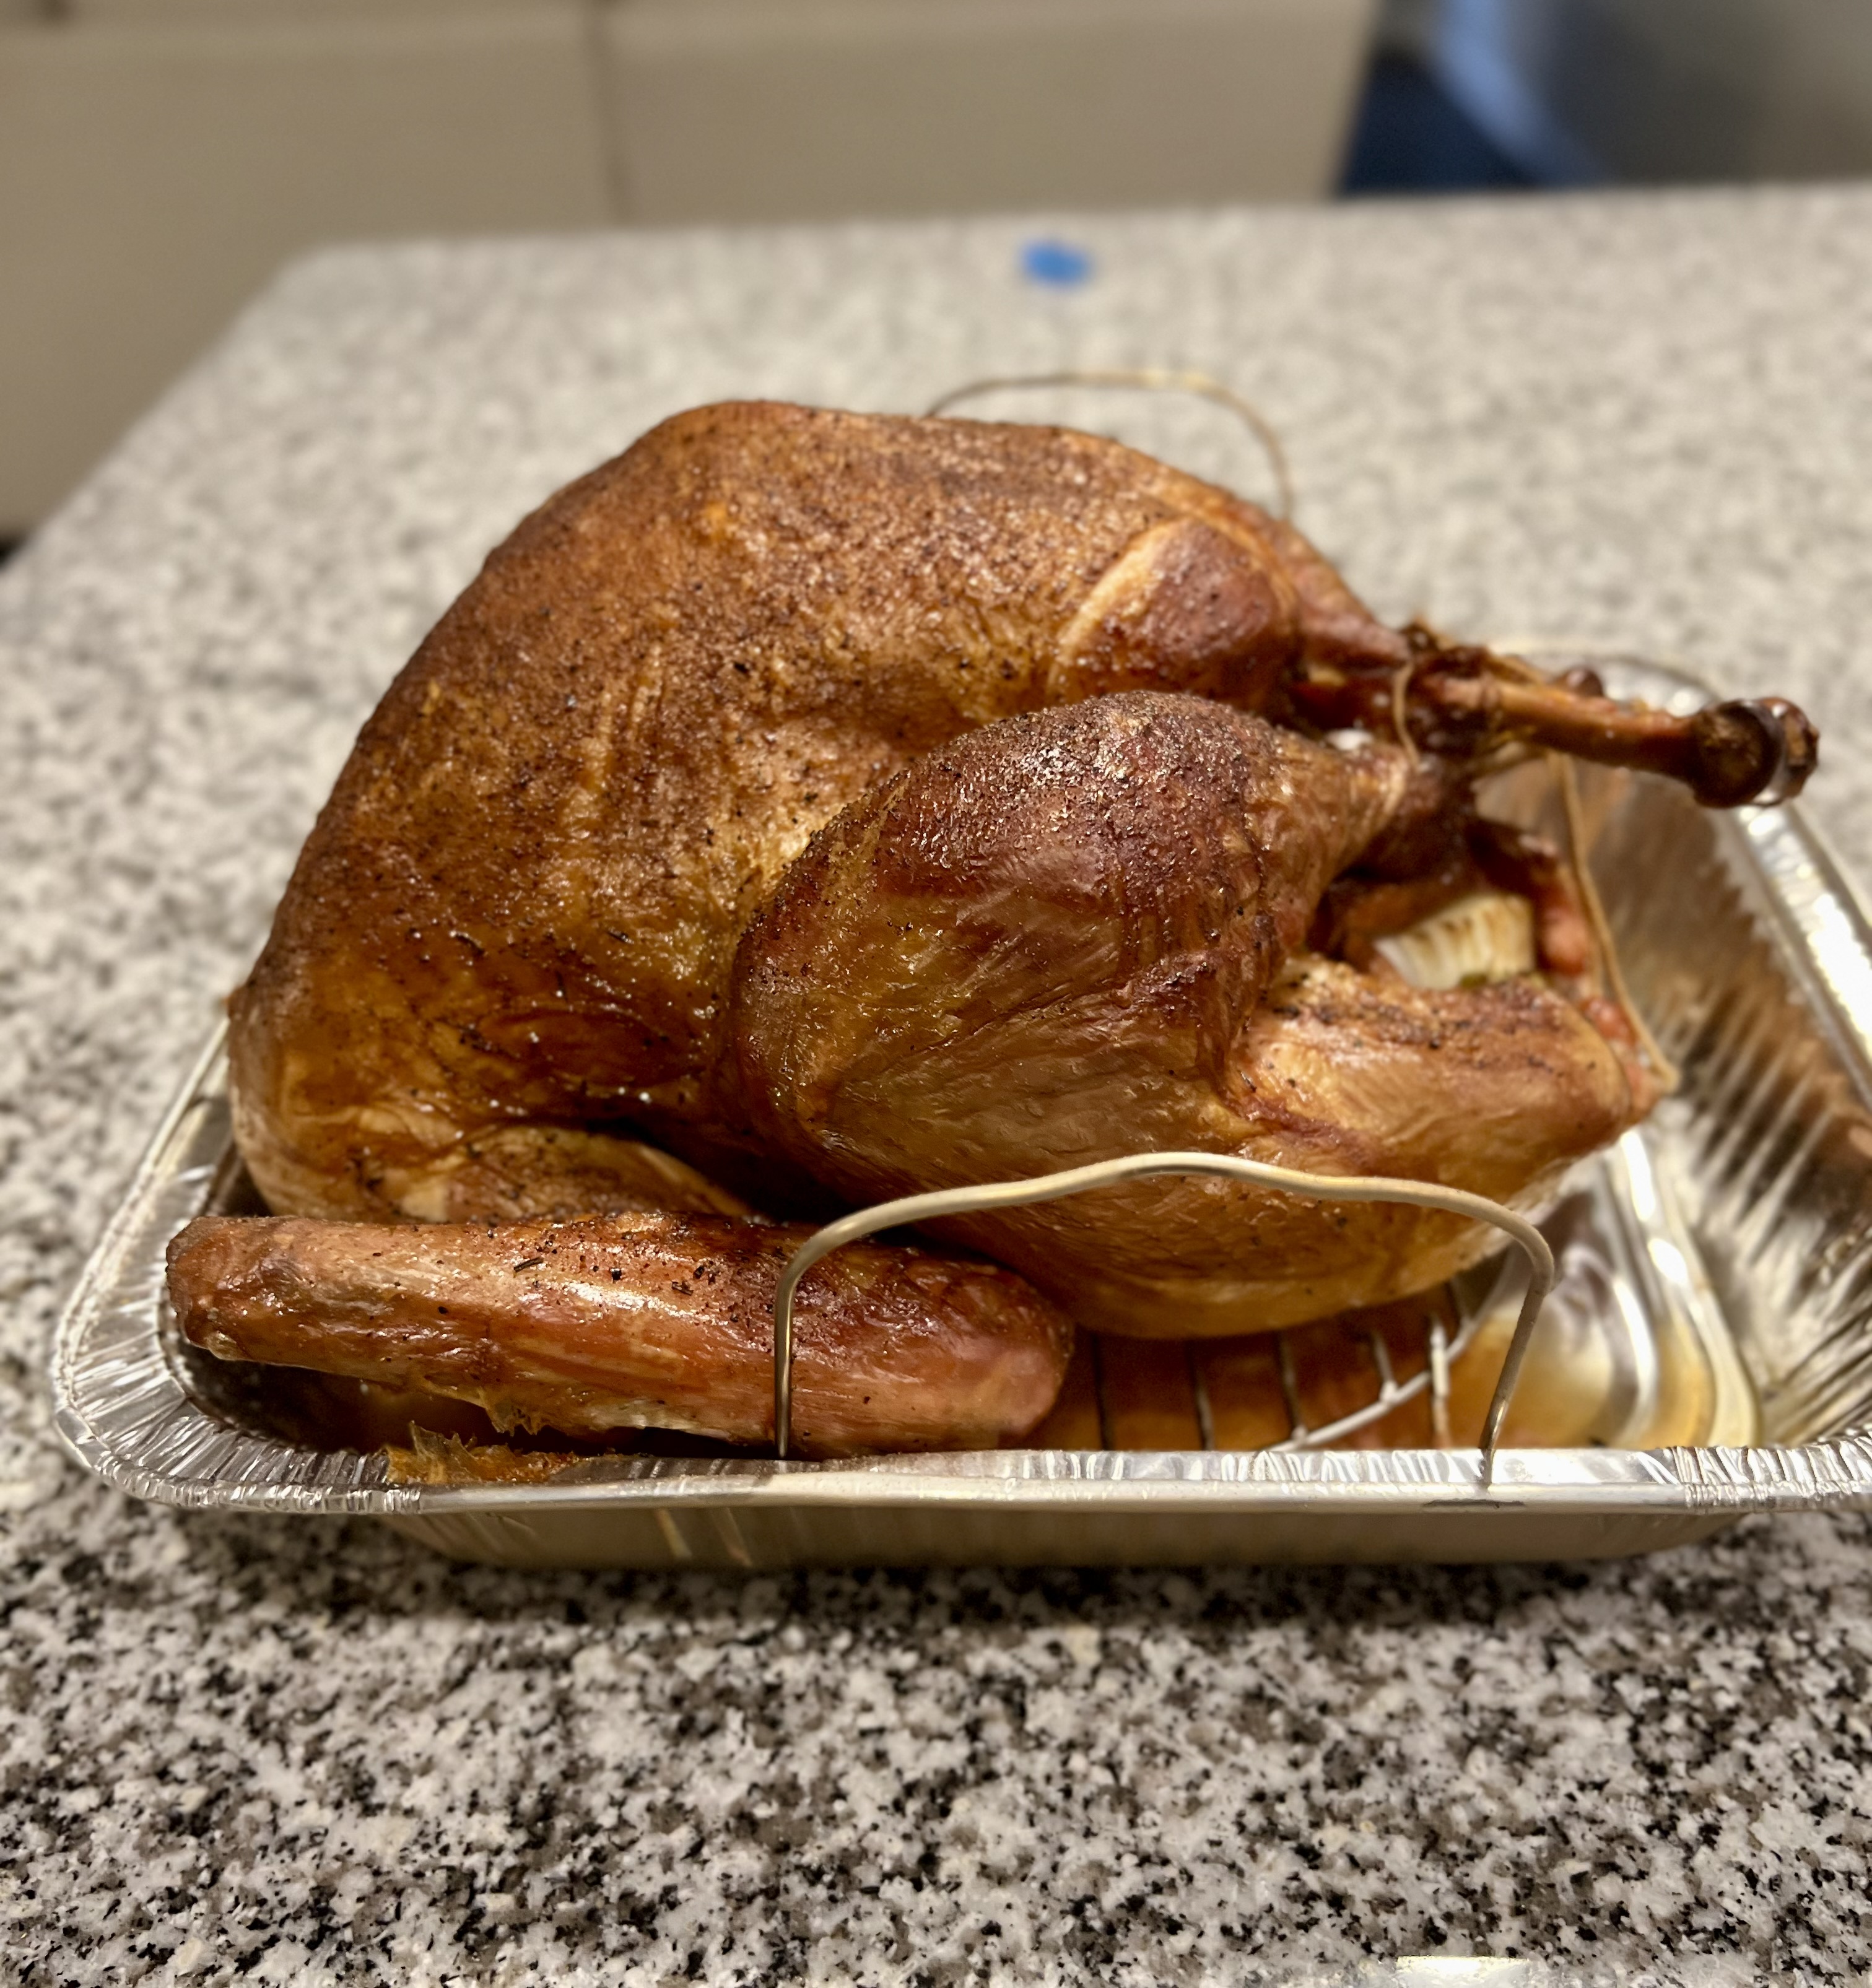
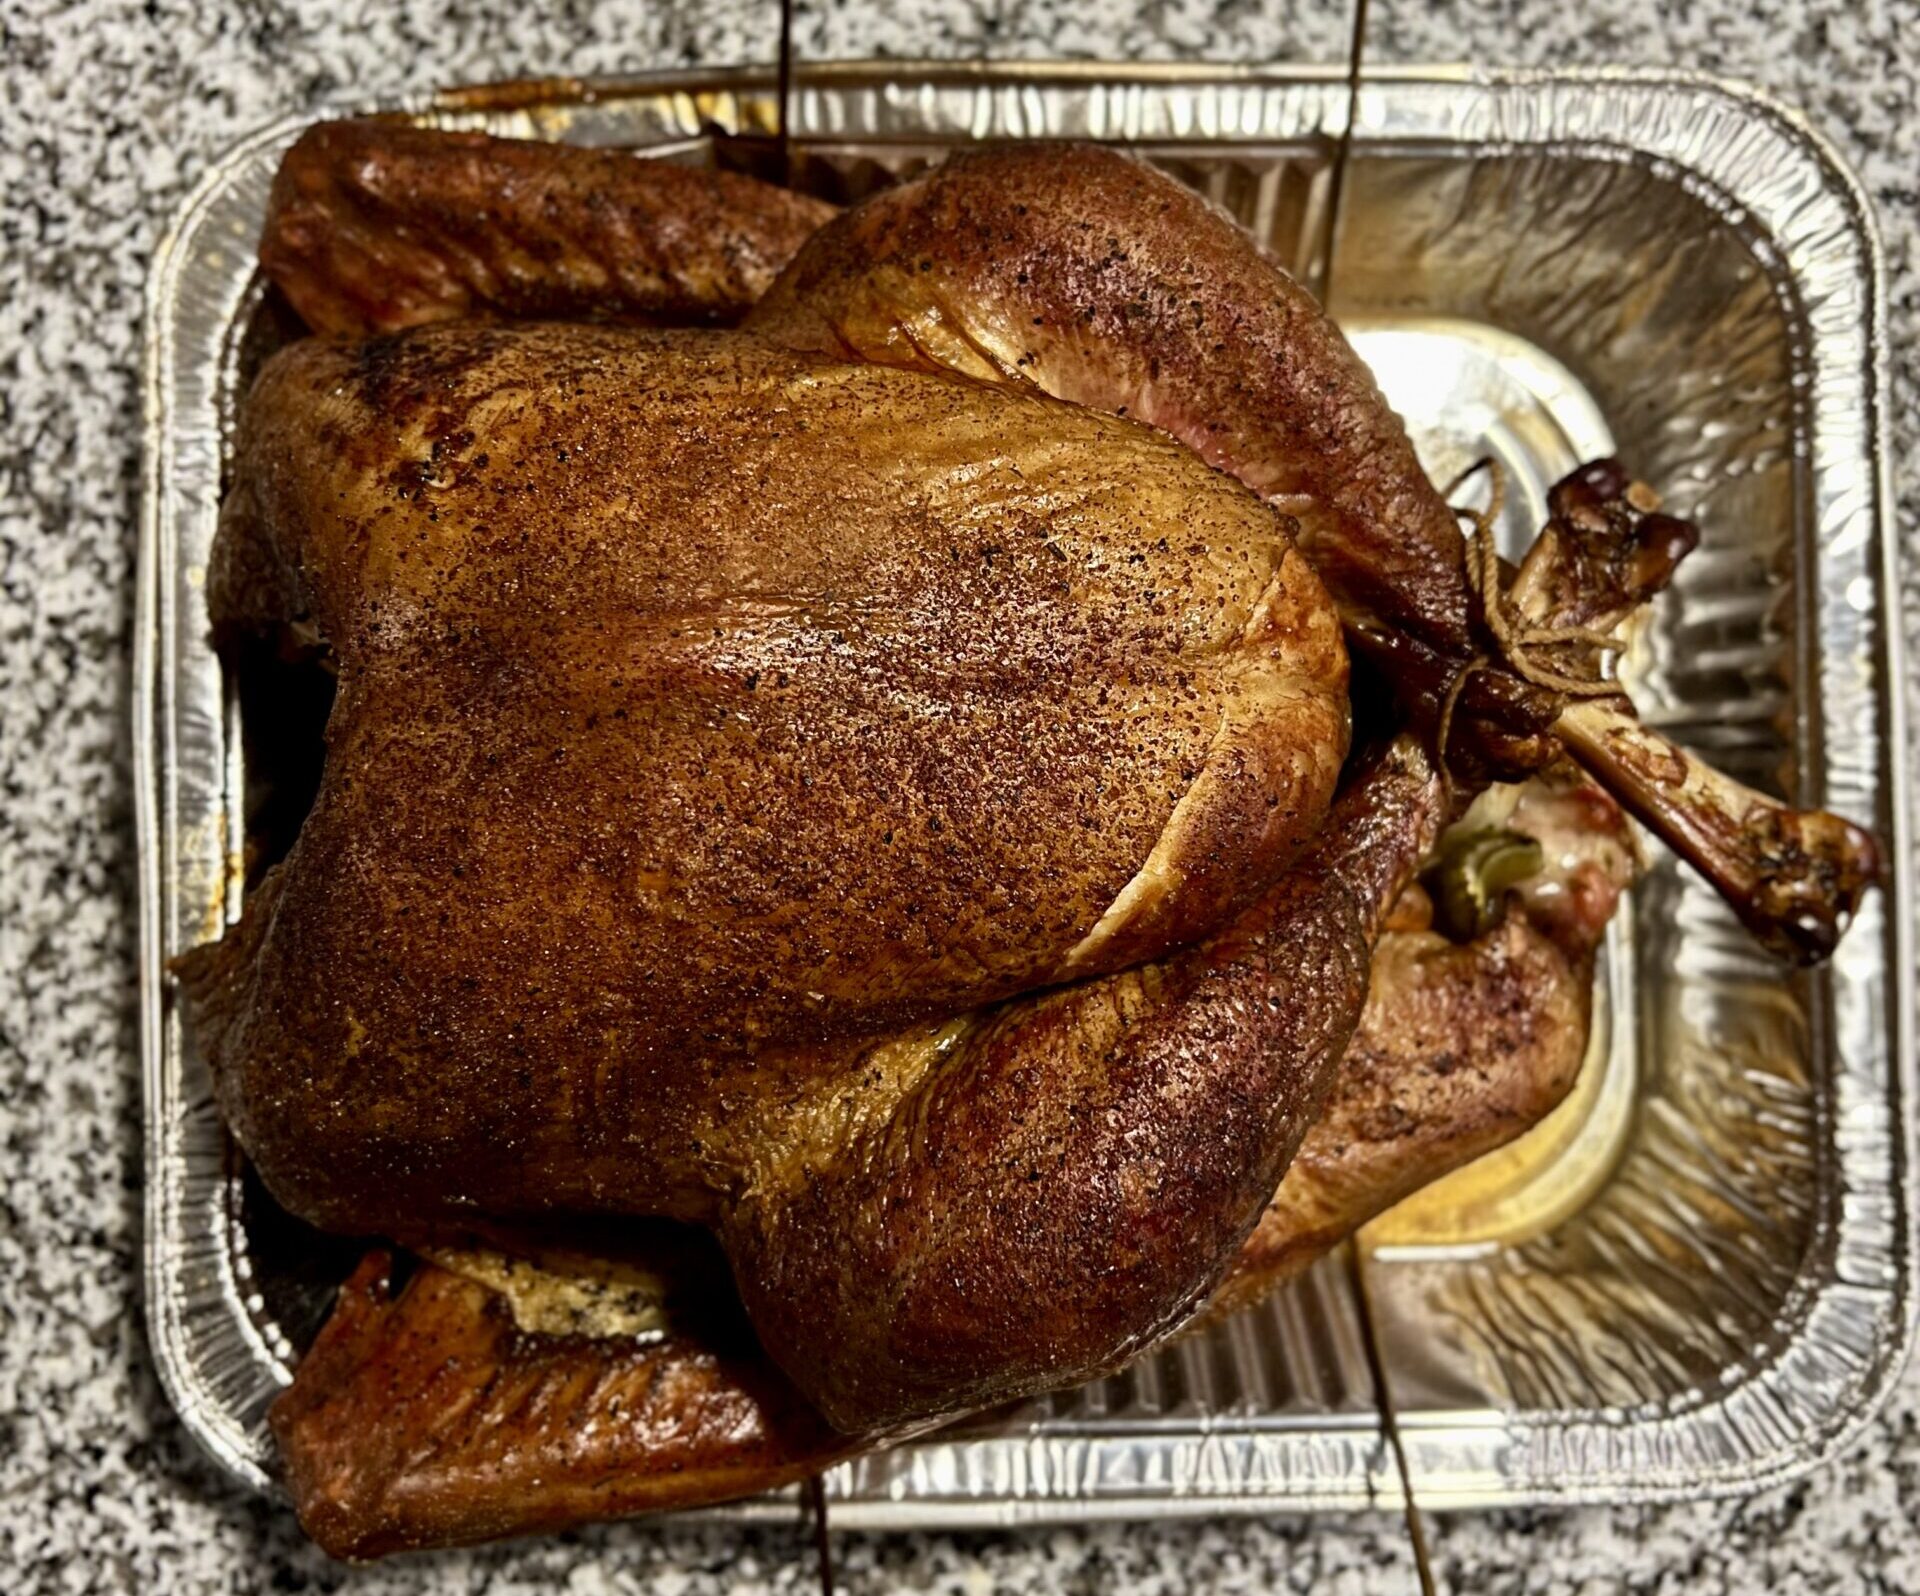
If all these easy steps are followed, we will be rewarded with an amazing center piece for the table and a turkey people will talk about every year. We are going for golden, crispy skin and juicy white/dark meat on this pellet grill Christmas turkey.
This is a great addition to our recipes and one we think everyone will love. We took a lot of inspiration from some of the best in the business, Malcom Reed and Matt with Meat Church. Both of these guys put out some amazing content and incredible product. We highly recommend you check them out!
What Makes a Good Pellet Grill Christmas Turkey?
In our opinion, there are 2 main parts to a good pellet grill Christmas turkey: juicy meat and crispy skin. People swear by all kinds of different metrics for what makes the best pellet grill Christmas turkey, but we like to keep it simple. If you can find a fresh or frozen turkey that weighs between 10-15 pounds, that’s the main thing. They taste the best, cook the most even, look the best and just turn out the best dish to eat. We will be imparting tons of flavor onto and into this pellet grill Christmas turkey to make it as good as possible.
The dark meat and white meat in the turkey are equally important. The breast, where the white meat is, generally is the hardest part to get right. We can minimize risk of messing it up by watching the temps throughout the full cook. The dark meat of the turkey is much more forgiving due to the fatty nature of the meat, but we still don’t want to overcook it.
Key Ingredients
You really need to brine your bird, either wet or dry. A lot of turkeys you buy at the supermarket will be sold in a brine solution already. We recommend brining it again. The likelihood of making the turkey too salty is minimal, but the upside potential for flavor is great for a pellet grill Christmas turkey. Apart from that, we need to apply a fat to the skin and get some good seasoning onto the turkey.
The fat (cooking spray, butter, mayo, etc.) will make the skin crisp up and take on a gorgeous brown/gold color, which is what you want for a pellet grill Christmas turkey. We recommend using a lighter color seasoning to help make this recipe as easy as possible.
Preparing the Pellet Grill Christmas Turkey
The first priority is thawing the turkey if it is frozen. Plan for 24 hours in the fridge per 4lbs of turkey. Try to ensure your pellet grill Christmas turkey is completely thawed before brining, but if it’s not, it is not the end of the world, especially considering we will be air drying the turkey, so we will have some extra time to thaw if it’s needed.
Once you have a thawed turkey, it’s time to brine to get our pellet grill Christmas turkey off on the right foot. There are a ton of brines out there that could be used for this, so pick your favorite and follow the directions on the box. Some requires just a few hours and some require 2 days. It just depends on the brine and salt content. Brining too long can deteriorate the turkey meat, so do not brine longer than necessary.
After bring, place the turkey on a sheet-pan on a wire rack or something to keep it elevated for air to circulate around it. Place it back in the fridge overnight or up to 20 hours or so. This step is critical to ensure your pellet grill Christmas turkey has that crispy skin everyone loves.
After removing the turkey from the fridge, it’s time to season. This should be done on Christmas Day, about 4-5 hours before eating time. Pray or spread a fat (cooking spray, mayo, butter, etc.) on the turkey skin and season on top and under the turkey skin, making sure to keep the coat even for appearance purposes.
Fire up the pellet grill to 325 with a fruit wood and plan for about 1 hour cook time per 4lbs of turkey. Once it is on the pit, there’s no need to do anything else except monitor the breast temperature and once it hits 160F, pull the turkey and rest it, lightly tented.
Pellet Grill Christmas Turkey
Equipment
- 1 Brining Bag
- 1 Large Sheet Pan Needs to be large enough to catch all juices from the turkey
- 1 Wire Rack Needs to be large enough to hold the turkey
- 1 Pellet Grill
Ingredients
- 1 Pre-mixed Brine Serving Use whatever you like; can make your own or buy from the store
- 1 All-purpose Seasoning A salt, pepper, garlic mix works great, but could use your favorite BBQ rub, cajun seasoning, etc.
- Cooking Spray Helps the seasoning stick and crisp up the skin
Instructions
- Follow brine directions on your product
- Remove turkey from brine, pat dry and place on wire rack + sheet pan uncovered in fridge for 24 hours
- Remove turkey from fridge, pat remaining moisture off turkey
- Spray turkey with cooking spray or fat of your choice
- Sprinkle seasoning evenly across entire turkey
- Place turkey in 325F pellet grill
- Check temperature at deepest part of the breast after 2 hours
- Remove turkey from pellet grill when deepest part of the breast reads 160F
- Allow rest for 1 hour uncovered, optionally lightly tented
Notes
- Can use any brine or seasoning you want
- Can skip brine or drying of skin, but impacts final product
- Do not tightly cover turkey during rest. Steam will soften crispy skin
- If legs/wings are getting too dark while cooking, tent with foil to preserve color
- Turkey will remain hot after 1 hour rest